Top 10 Tools I Use Daily As React Developer
Table Of Contents
Developers usually have a set of tools that they use on a daily basis when developing various projects.
They help to set up the project, speed up the development process, test the final result, and make it accessible to the end-users.
Today, I am going to share with you the tools that I personally use on daily basis and that I find most helpful for React developers.
Visual Studio Code (VS Code)
For starters, we need a good code editor that runs on the desktop and comes with all the necessary features to start coding as soon as we download it.
VS Code meets these requirements as it comes with built-in support for JavaScript, TypeScript and Node.js and has a lot of available extensions that can be installed if needed.
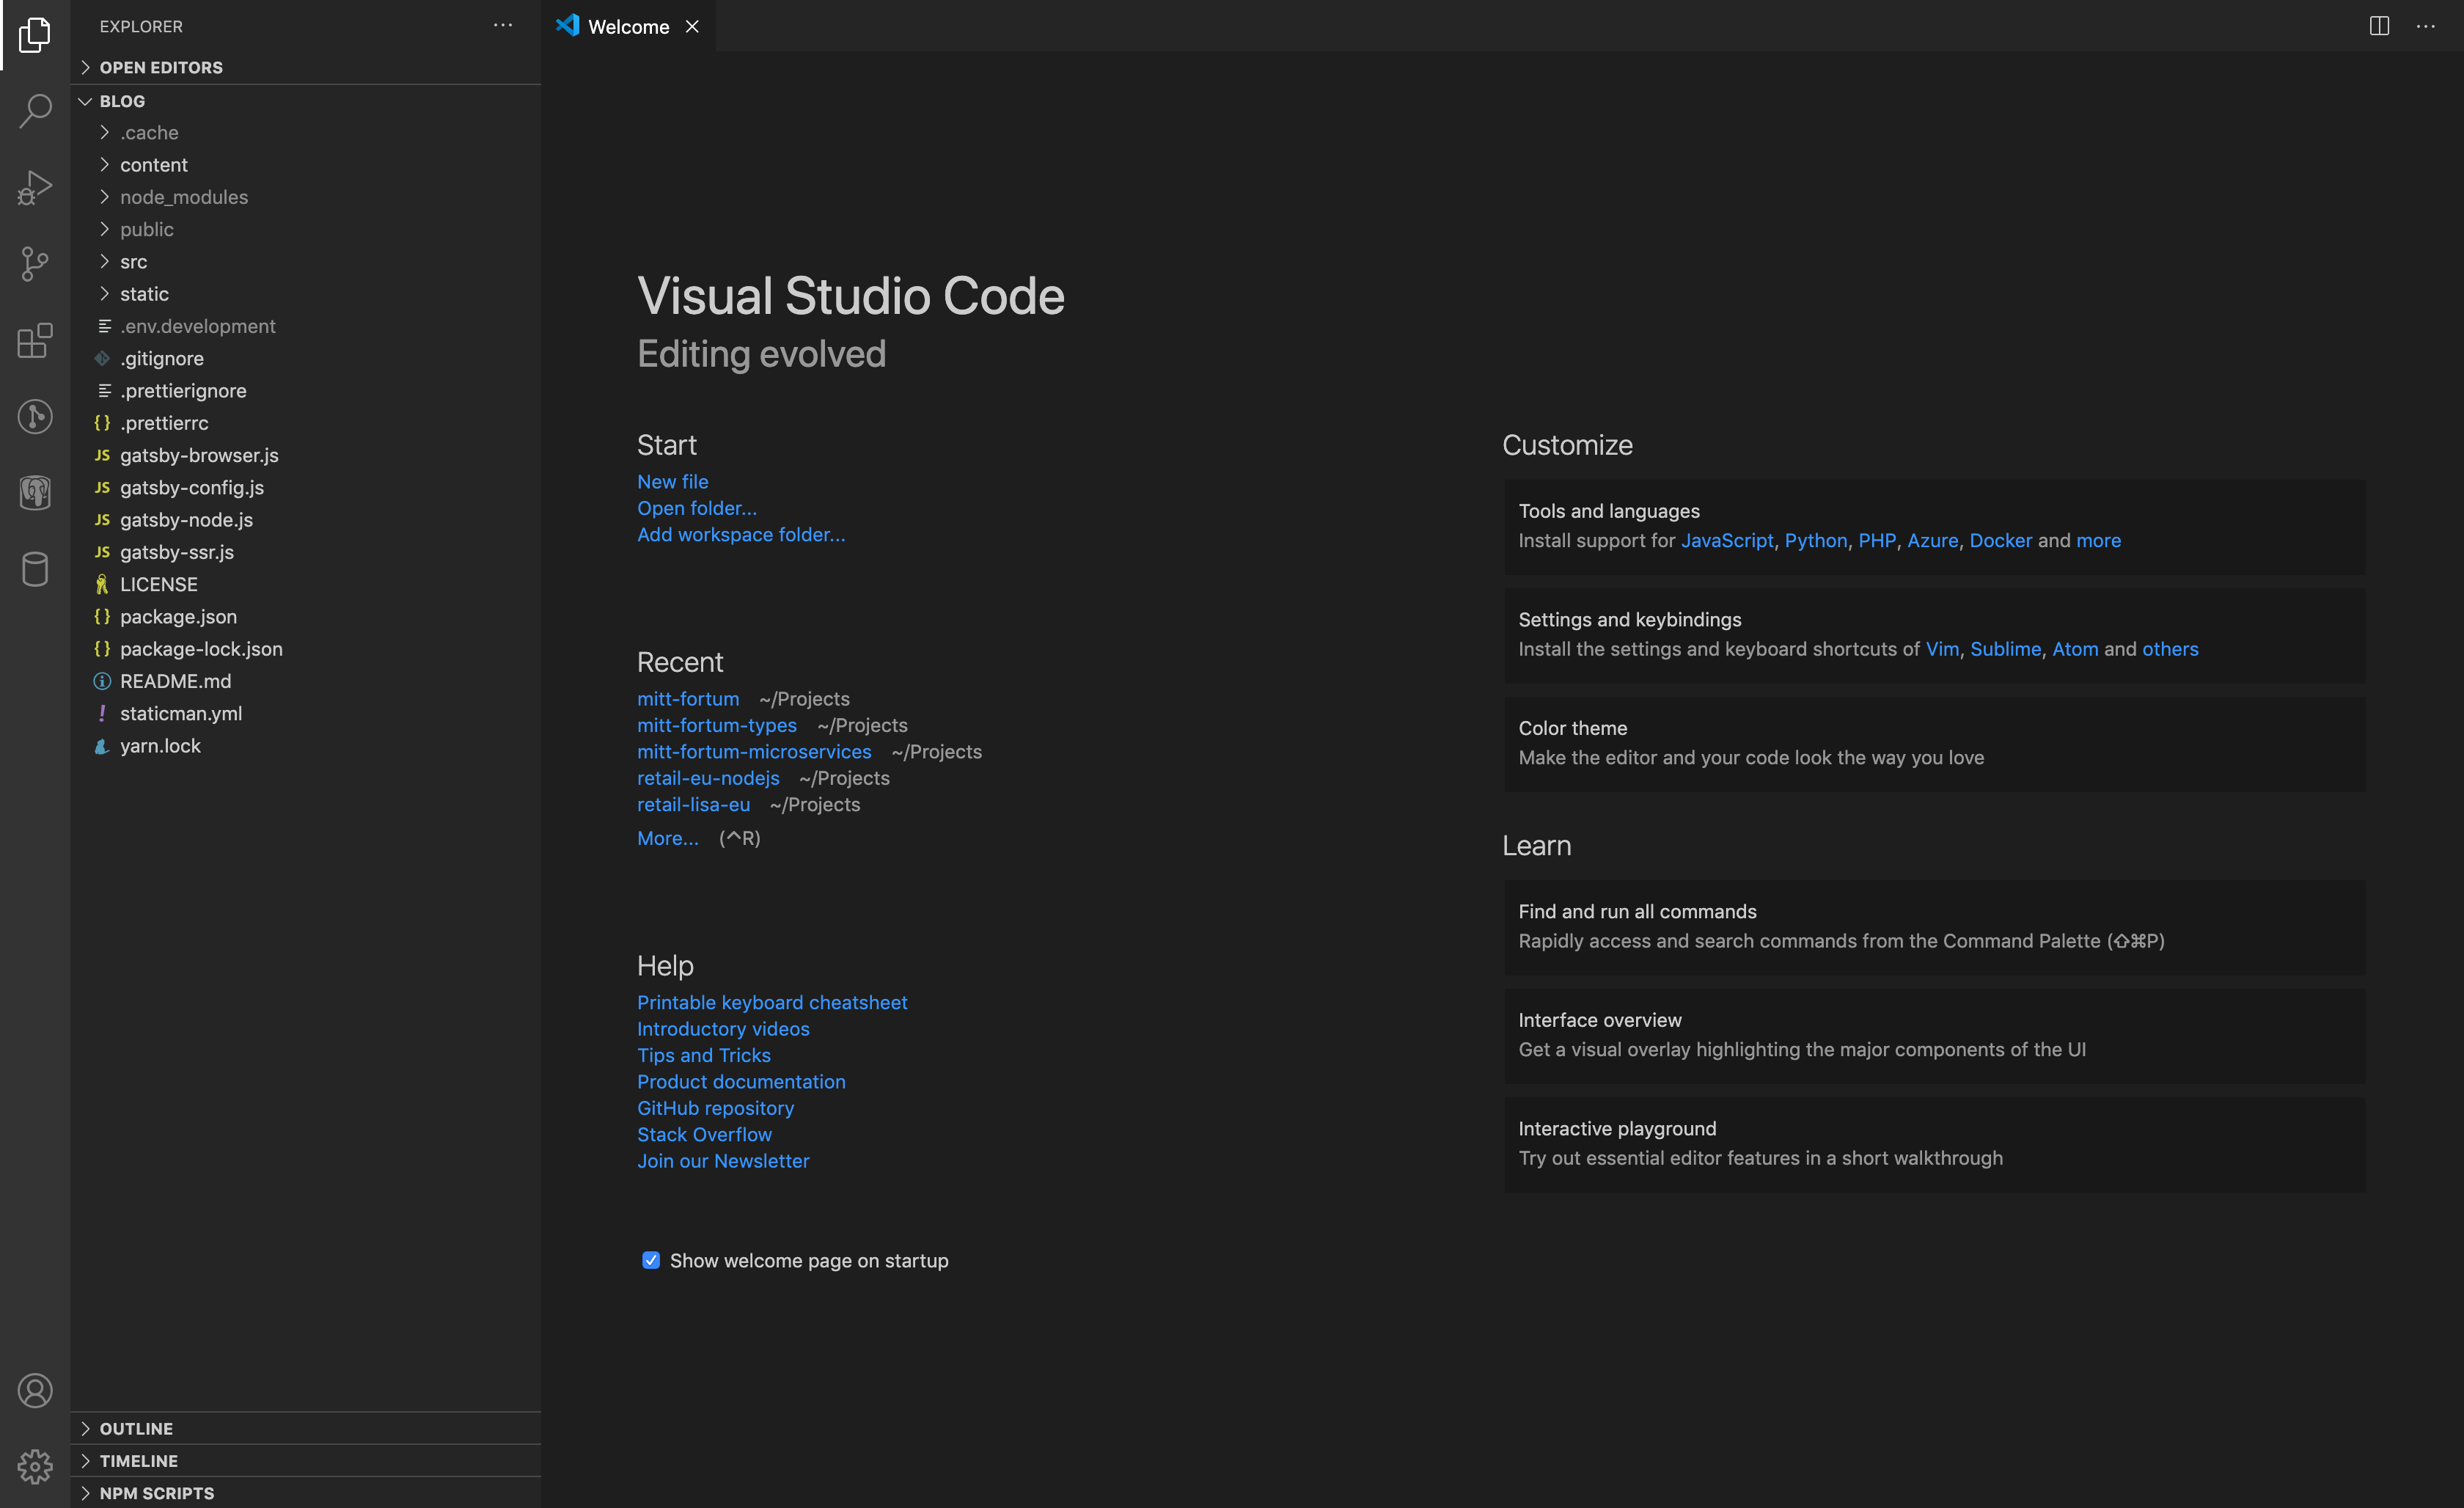
Here are some of the extensions I have installed and find useful:
-
GitLens - allows you to extend the Git capabilities built into Visual Studio Code
My favorite use case is to take a look at who, why, and when changed a particular line of code. It is extremely useful when jumping into an existing project.
-
vscode-jest-runner - allows you to run or debug a specific test or test-suite
If only certain tests have been modified and need to be run to make sure they pass, you do not need to type
jest -t "it should do something"into the terminal, but instead just click the button. - Markdown Preview Enhanced - allows real-time preview of Markdown
-
Prettier - Code formatter - allows you to enforce a consistent style by parsing your code and re-printing it with its own rules
Extremely useful when working in a team to ensure everyone produces the code that follows the same guidelines.
There are many more great extensions, I recommend you to read this article for a larger list.
Git / Github
Github is a web-based platform used for version control. It allows you to store code, share it, and collaborate with different people.
One of the main advantages of Github is that it allows multiple people to work with the same code simultaneously and in an organized manner.
Git is an open-source version-control tool. It allows you to track changes in any file, save those changes, and send them to Github.
You can use Git in a CLI (Command Line Interface) or a GUI (Graphical User Interface).
CLI
You open the terminal, type in the commands that act as instructions for Git to know what to do.
GUI
You open a program that visualizes the state of your repository, commit history, and all branches. Instead of typing the commands manually, you click the buttons.
There are standalone programs like Github Desktop or ones that can be integrated into your code editor (VS Code has it available by default).
Which is the best way of working with Git? I do not have an answer for that, but even if you only want to use the GUI, you should try CLI first and learn all the basic commands and concepts.
Important note: You are not limited to just Github, there are many alternatives, like Gitlab, Bitbucket, etc.
The first thing I do in the morning is check if there were any changes made in the Github repository by other team members, and pull them to my local machine using Git.
Here is a great article that explains working with Git and Github in detail.
React Developer Tools
This article is written from the perspective of a React Developer, so the first thing I suggest to install after creating a project in React is React Developer Tools.
React Developer Tools is a Chrome DevTools extension for the React library. It allows you to inspect the React component hierarchies in Chrome Developer Tools.
After installation, you will see two additional tabs in Chrome DevTools: Components and Profiler:
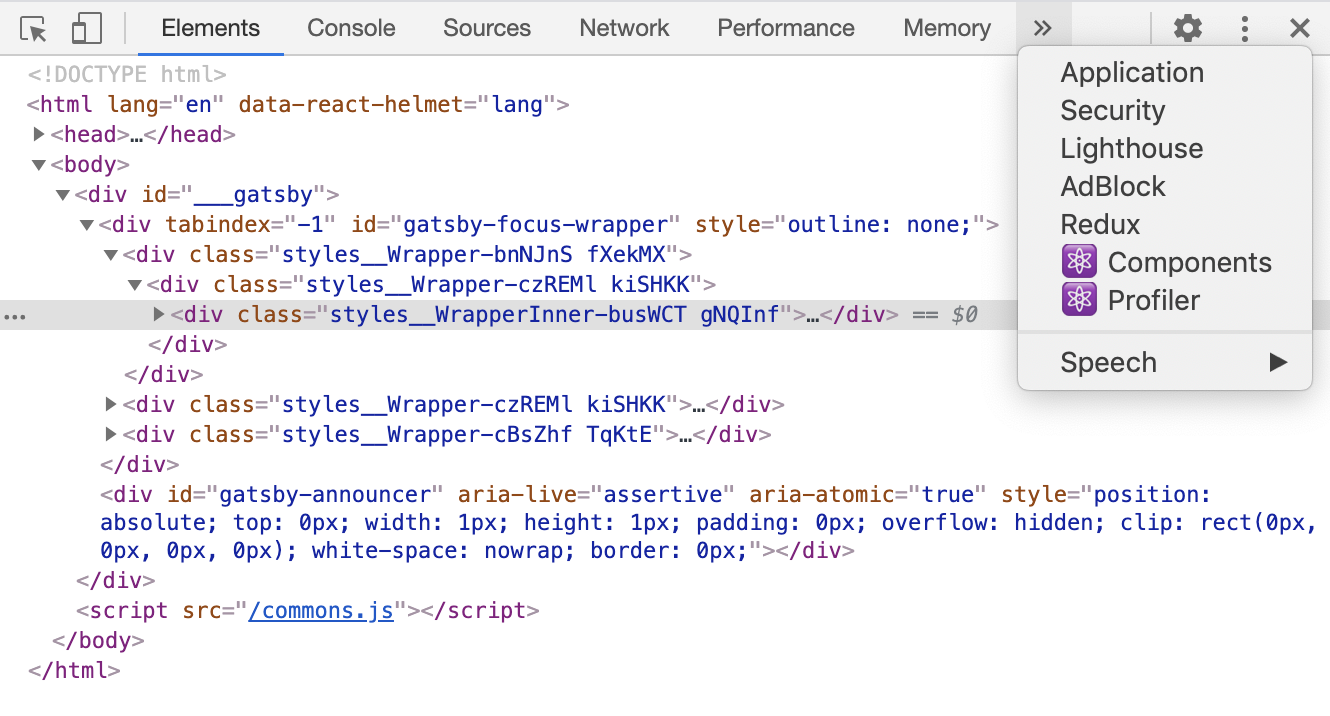
Read more about the new tabs here.
Personally, I like the possibility to "Highlight updates when components render", which is included in the React Developer Tools.
It shows how often your components are rendered, and from that you can see if further optimizations are needed.
Redux (Redux Thunk/Redux Saga)

Redux is a library that allows us to easily and predictably manage the state of an application.
With Redux, the state of your application is kept in a place called a Store, and components can connect to the store and retrieve the data they need.
Key benefits of using Redux:
-
The state becomes predictable
When the same state and actions are passed to the reducers, they produce the same result because they are pure functions.
-
The state becomes immutable
Reducers always produce a new state, never mutating the original.
-
Easy debugging
Since the state is immutable, we can time-travel through the occurred updates and view the state at any point in time.
- Easy testing
To add Redux to your React project, refer to this article.
If you are working with Redux, you will most likely need to add middleware to handle side effects and integrate with the store more efficiently.
Both Redux Thunk and Redux Saga libraries serve this purpose.
Redux Thunk
Redux Thunk is a Thunk middleware for Redux. It allows you to write asynchronous logic that interacts with the store.
It allows you to write action creators that return a function instead of an action.
The Thunk can be used to delay an action execution or to execute certain actions only when a certain condition is met.
Redux Saga
Redux Saga is a library that aims to make application side-effects (i.e., asynchronous things like data fetches and impure things like accessing the browser cache) easier to manage, more efficient to run, easy to test, and better at handling failures.
Saga represents a single thread in your application, responsible only for handling side-effects.
For more information about Redux Thunk and Redux Saga, see this article.
Redux Dev Tools
Redux Dev Tools is a Chrome DevTools extension that helps to debug the application's state.
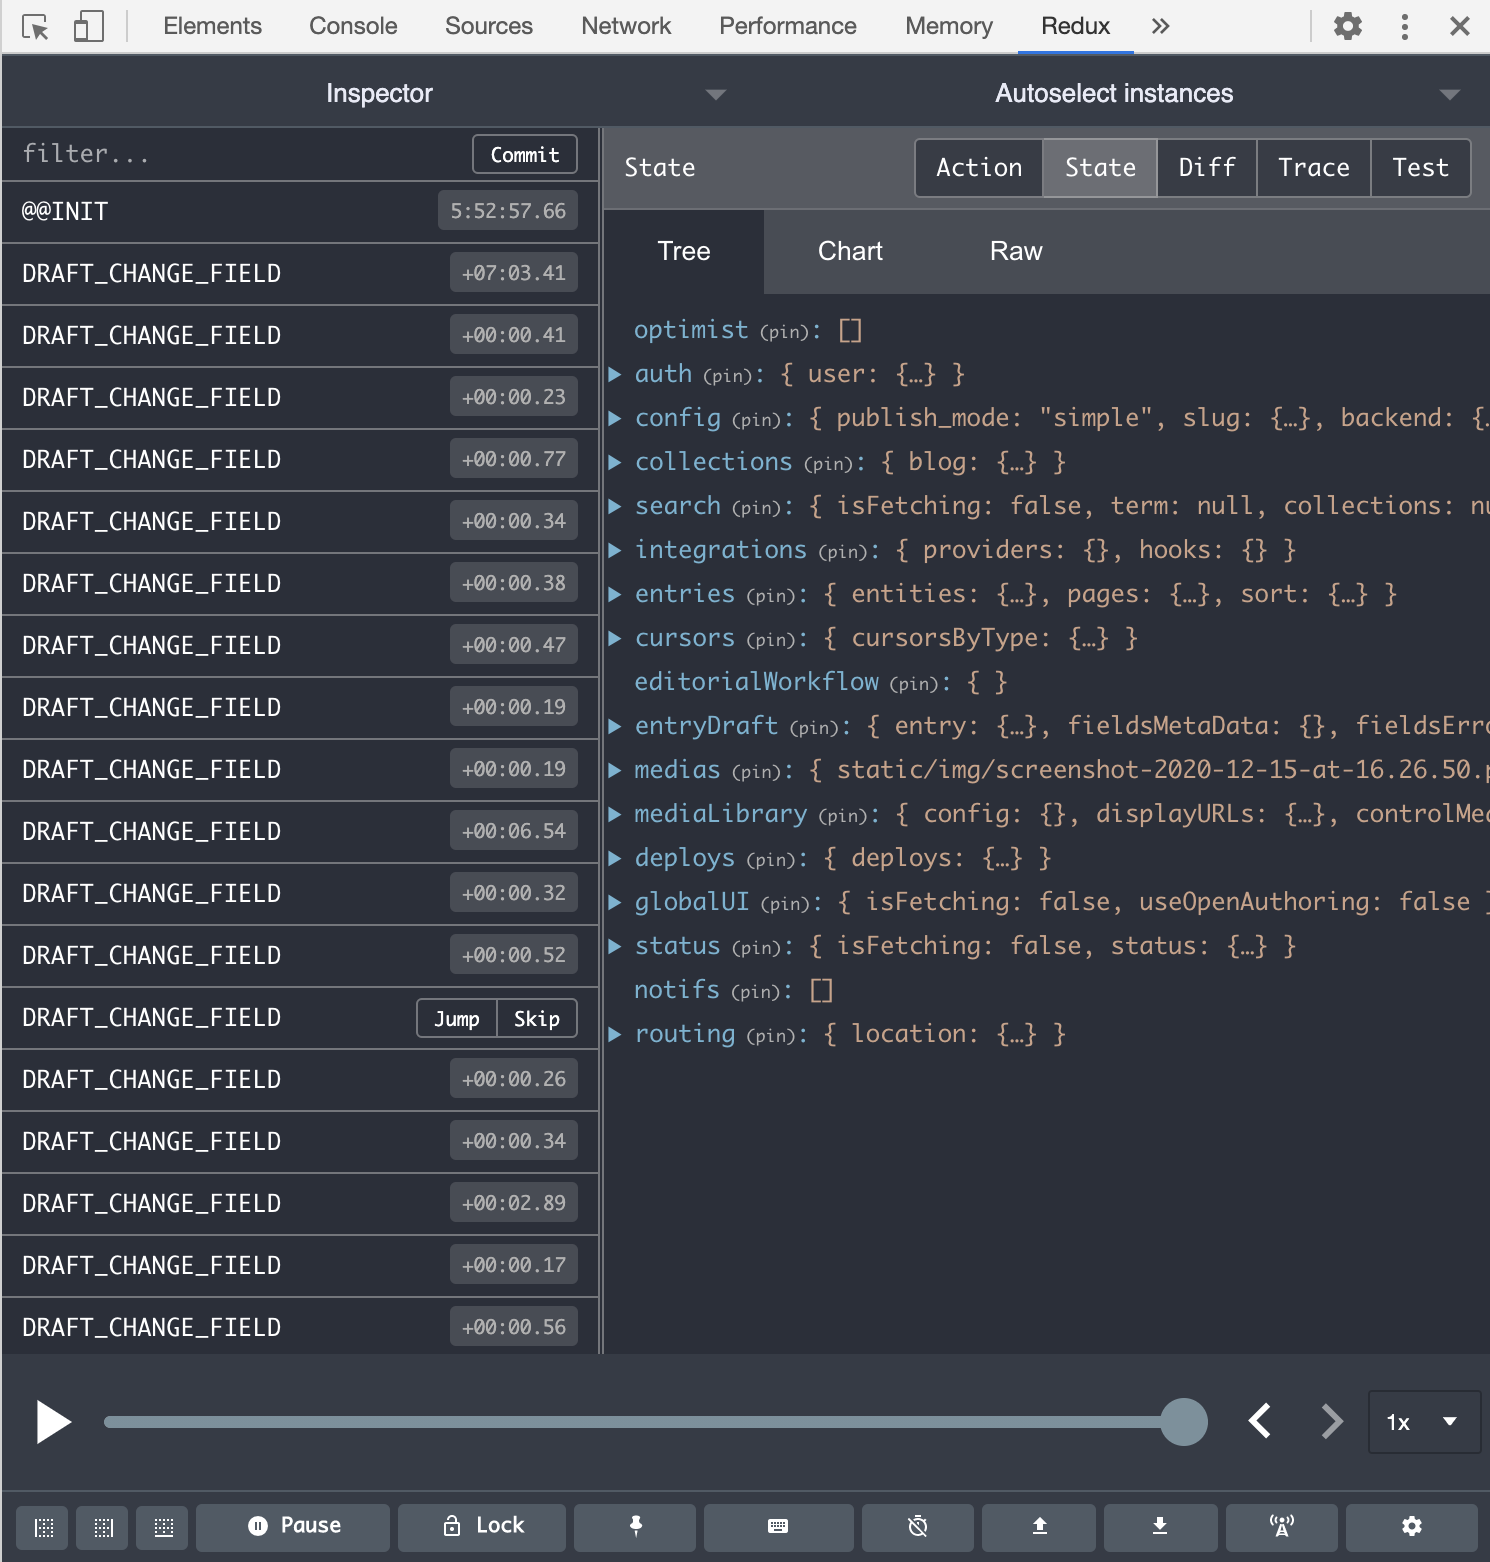
It allows to:
- Track all dispatched actions and their payload
- Time travel through all states of an application, so we can see what was going on before the state was reached at the given point
- Dispatch a custom action without implementing it in code
- Monitor only desired actions
- Persist store on page reload
- And much more
Make sure to install this extension and configure it for use with the current project.
You can learn how to do that here.
Jest / Enzyme
It's never a bad idea to cover your components and business logic with unit tests.
This will ensure that all existing functionality works as expected and adding new functionality does not break it

Jest is a JavaScript test runner, a library for creating, running, and structuring tests.
What is a test runner? It is a tool that picks up unit tests and a set of settings, runs them all, and outputs the test results to the console or to files.
Enzyme is a JavaScript test utility for React that makes it easier to test your React Components' output. You can also manipulate the output, traverse it, and simulate the runtime in some ways.
Enzyme is explicitly designed for React, while Jest is for JavaScript in general.
The combination of the two gives us a powerful set of tools that should be used in as many projects as possible.
Prettier
Prettier is used to automatically format code and enforce opinionated code formatting. It helps ensure that everyone on a team follows the same coding style.
It also speeds up the development process because you can skip formatting while writing code and focus on the task at hand.
Here is a quick example:
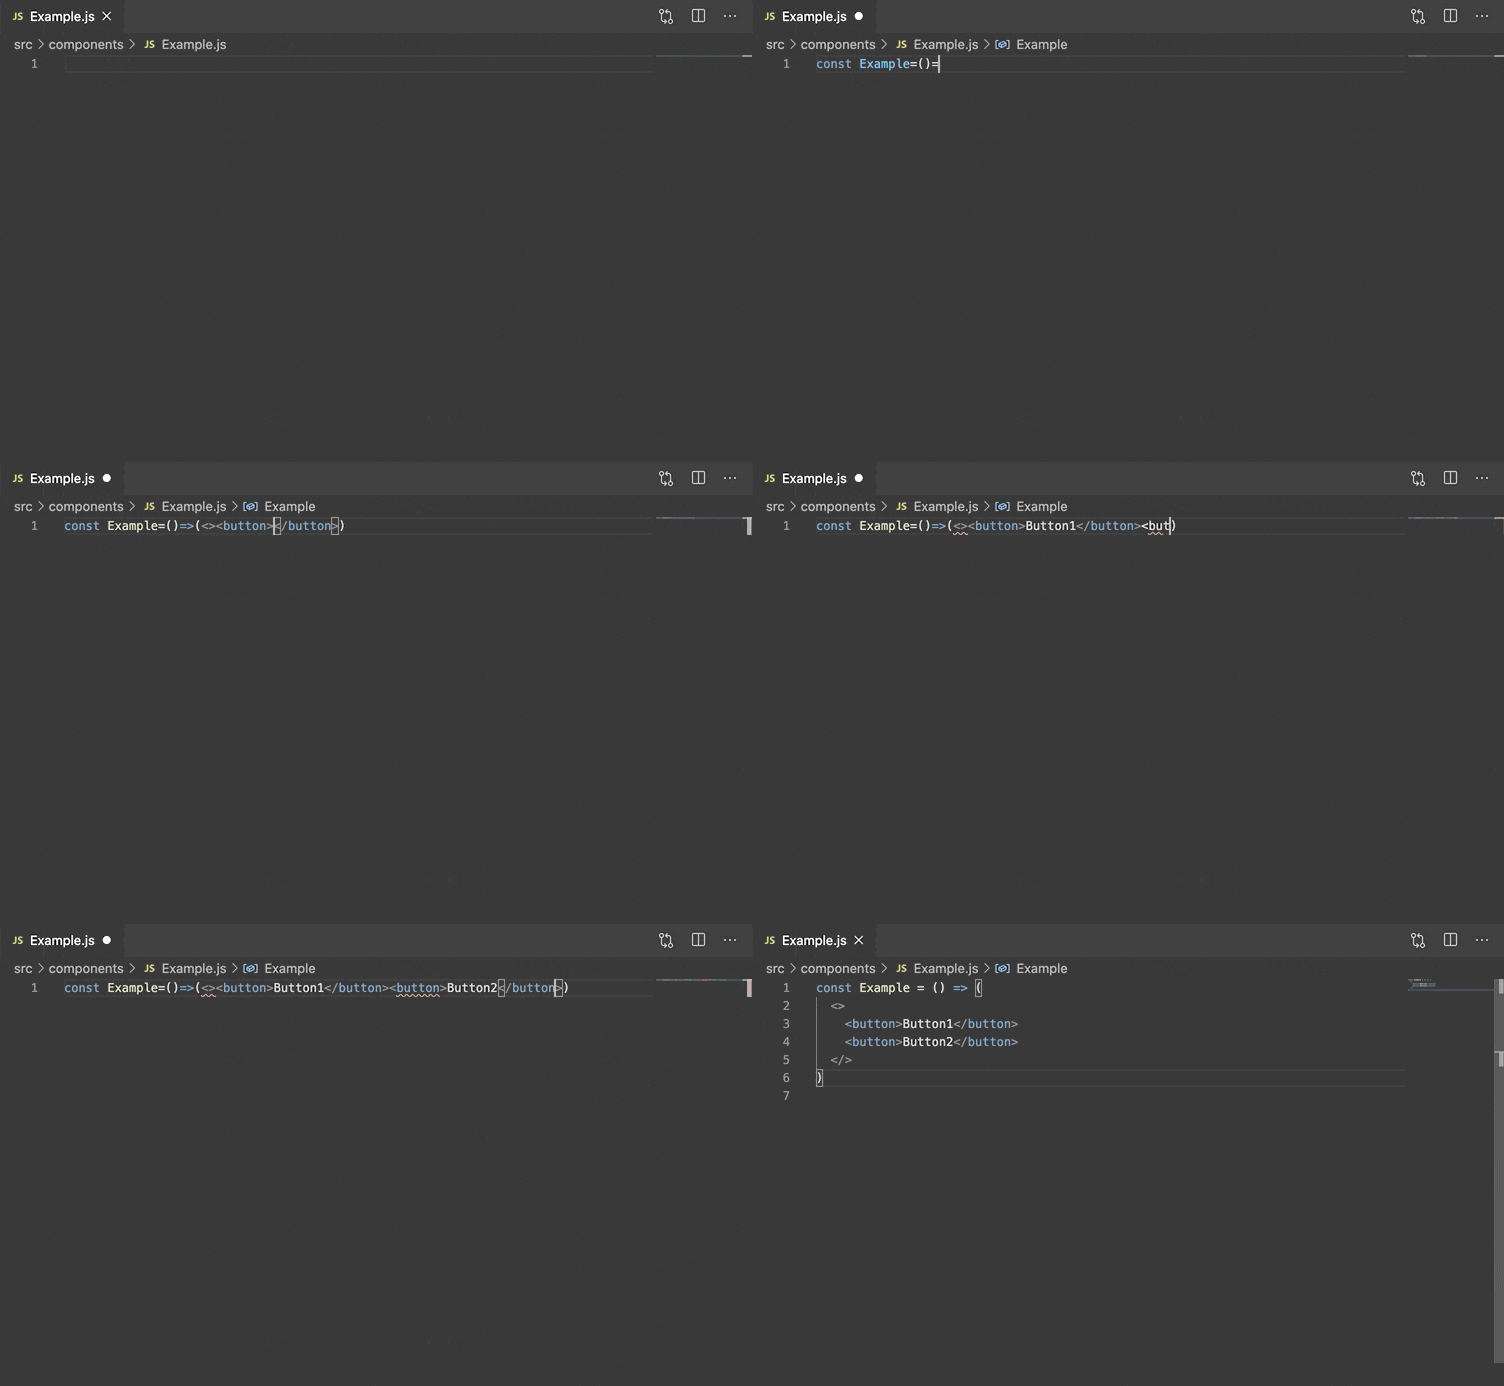
To learn how to add Prettier to your React project, read this section.
ESLint

ESLint is a tool for detecting and reporting patterns found in JavaScript code, with the goal of making the code more consistent and avoiding errors.
Many of the problems found can be fixed automatically, but more complex ones require manual work.
Always make sure that Linter successfully passes before even committing code to the remote repository on Github.
To learn how to add ESLint to your React project, read this section.
Github Actions

GitHub Actions help you to automate tasks within your software development lifecycle.
They are event-driven, meaning you can perform an action after a specific event occurs.
One of the most common scenarios is running ESLint and tests shortly after someone creates a Pull Request in your repository.
Important note: Github Actions are only free for public repositories and self-hosted runners. If you want to add them to the private repo, you will get a certain number of free minutes and storage. The minutes reset every month, the storage does not. Any additional usage will be charged.
Most developers have a Github Free pricing plan that gives us 2000 minutes per month and 500 MB of storage.
But we should keep in mind that running jobs on Windows and macOS runners costs 2x and 10x more minutes than on Linux, respectively.
More information on limits and billing can be found here.
Heroku / Netlify

Heroku is a cloud platform as a service (PaaS) that supports multiple programming languages.
Platform as a service (PaaS) or application platform as a service (aPaaS) or platform-based service is a category of cloud computing services that provides a platform allowing customers to develop, run, and manage applications without the complexity of building and maintaining the infrastructure typically associated with developing and launching an app.
One of the biggest advantages of using Heroku for hosting React applications is configuration time.
You can deploy an app in almost no time in two ways: either via the command line or via Heroku UI (only if you use Github).
Important note: Heroku is free for non-commercial apps only, if you want to deploy a business-oriented app, you should purchase at least a "Production" plan. More information on pricing can be found here.
There are a lot of alternatives to Heroku, one of which is Netlify.
Netlify

Netlify is a service that automates builds, deployments, and manages your websites.
Important note: Netlify includes a Free pricing plan that allows you to play around with the tool and decide if it meets all your needs. More information on pricing can be found here.
Nowadays, it is one of the fastest and easiest deployment solutions. As with Heroku, you can deploy either from the command line or via Netlify UI (only if you use Github).
Here is a full guide on how to deploy your React application to Netlify.
Summary
In summary, before playing around with a new library/framework/language, first try the tools available to help with development. The number of options available will no doubt impress you.
I hope you enjoyed it, try out the tools listed here and do not forget to comment on your favorites!